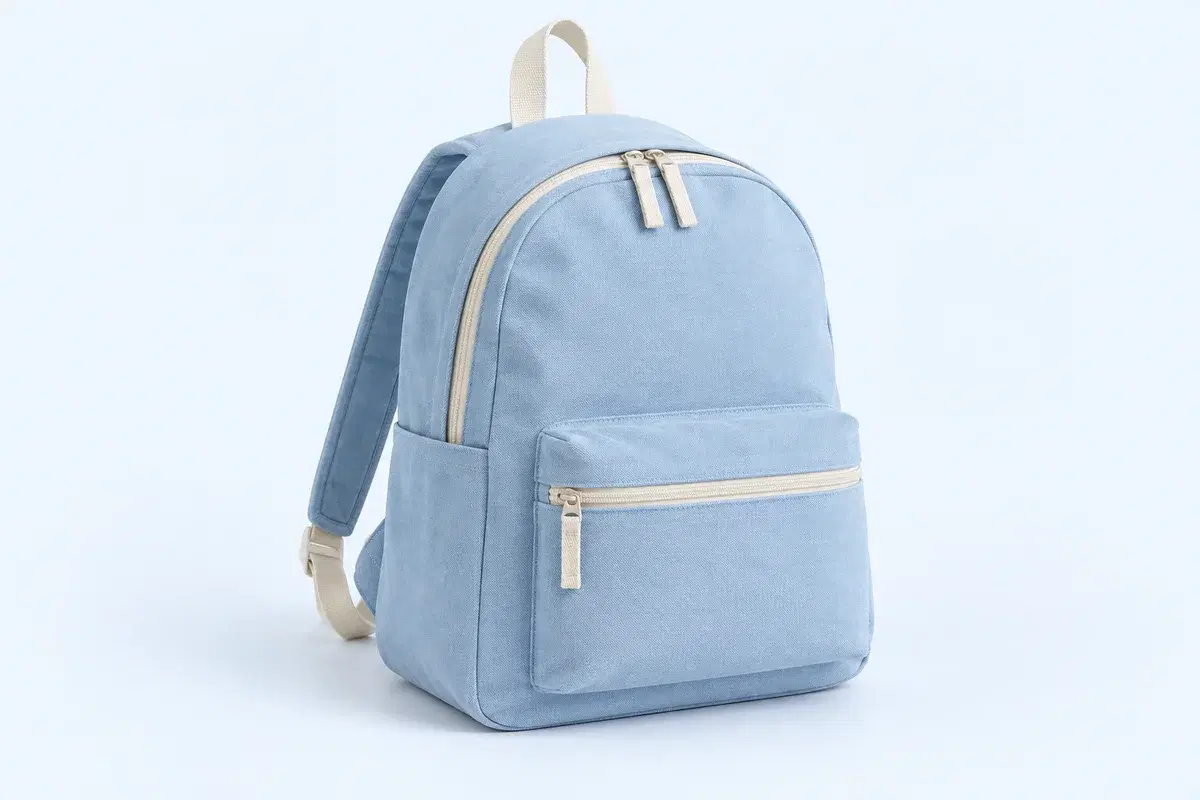
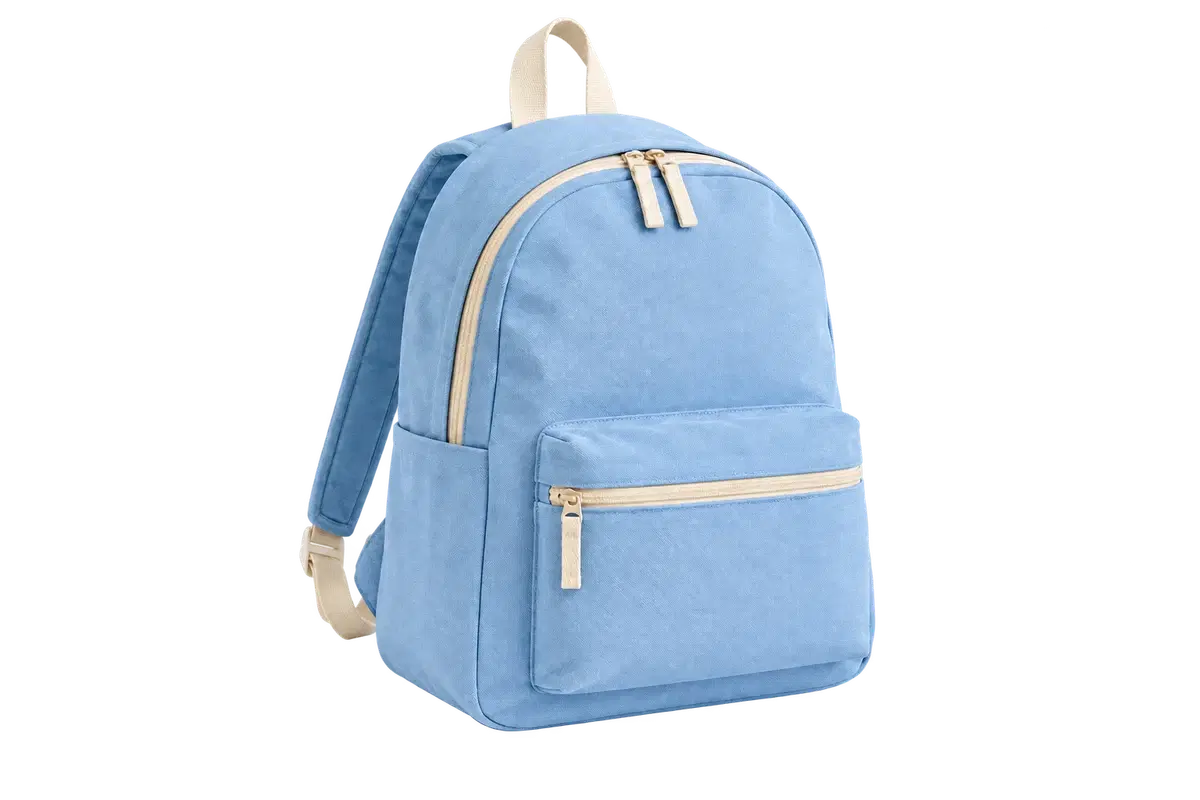
To make a white-background product photo here, remove the background, choose Color, select white and download JPG. If the same product will be composited again later, download a transparent PNG as well before flattening.
The editor changes the background only. It does not straighten, crop, resize, add shadows or normalize the product's scale across a set.
That makes it a finishing step, not a full listing workflow: the sections below cover what it controls, where consistency actually comes from, and which failures are worth fixing before upload. Read the limits first, then the failure list; most of that list is about the shoot, not the tool.
When is this editor enough for a product photo?
This workflow fits a product shot that is already sharp, evenly lit and framed the way you want, when the destination accepts a plain background and you need a cutout rather than a studio retouch. It also fits a small set, as long as you are willing to process one image at a time.
It does not fit work that needs layout control. There is no crop, rotate, resize, shadow or batch tool, so it cannot produce an image at a target pixel size or put several products on one canvas.
It cannot fake consistency either: if camera height, distance or lighting changed between shots, removing the background makes the difference more obvious, not less. If the destination enforces pixel dimensions, margins, watermarks or a specific background value, treat this editor as one step and finish the file in a tool that can measure and resize.
Which background and export settings can you control?
Background choices are Transparent, a solid Color or an uploaded Image. The color picker starts on white; the preset swatches are white, blue, red and near-black, and the color input accepts any value. Use one value for the whole set; the presets are shortcuts, not a match guarantee.
A backdrop image is prepared at up to 2048 px on its long edge and scaled to cover the output, which means it is center-cropped to the cutout's aspect ratio. A backdrop with an important element near an edge can lose it, so prepare the backdrop at the same aspect ratio as the product photo when the composition matters.
Export: PNG keeps transparency and any solid color you applied; JPG is flattened, uses quality 0.94 and fills white when Transparent is selected. Both are written at the result's pixel size, which may be smaller than the source: the browser fits uploads inside 4096 px on the long edge and 16 megapixels and re-encodes them to roughly 3 MB, and the server caps at 6 MB, 16 megapixels and 8192 px per side.
Input is PNG, JPEG or WebP up to 20 MB. There is no batch mode, no saved preset across images and no undo history beyond starting over with Replace image.
Why do the products still look inconsistent?
Inconsistency usually comes from the shoot or the destination rules, not from the removal. Check the list below before you process the same photo again.
- Products look different sizes across the set. The editor never rescales the subject; it only replaces the background. Match camera distance and focal length when shooting, or normalize the exports in a layout tool afterwards.
- Leftover background inside a handle, strap or between legs. There is no brush or eraser here. Zoom into the product at 1× to 4× and check the inside edges before exporting.
- A white fringe on a white background. There is no edge-color clean-up control, so a pale outline is exported as-is. It is nearly invisible on white and obvious on a dark slide; check the asset on the dark preset if it will be reused.
- JPG edges look softer than PNG. JPG is lossy and saved at quality 0.94, and repeated JPG saves compound the loss. Keep the PNG master and export JPG once for delivery.
- Pixel dimensions do not match the marketplace. Nothing here resizes to a target size, and a downscaled upload stays downscaled. Check the destination's current requirement and resize the final file deliberately.
- Processing is busy right now. Two short-lived budgets apply: six removals a minute per browser session and twelve a minute per network. They reset within a minute; this is not a daily allowance.
How do you build a consistent white-background set?
1. Shoot or select a photo with clean separation between product and background, and keep camera height and distance similar across the set.
2. Upload PNG, JPEG or WebP under 20 MB, remove the background, and inspect straps, handles, laces and interior gaps at 1× to 4×.
3. Choose Color, set the same value for every image (white is the default), then check the result against a dark color to catch a halo.
4. Download JPG for the final white-background file. If the product may be reused, switch to Transparent and download a PNG as well before moving on.
5. Compare the finished files at the same display size. If the products still look inconsistent, correct framing or scale in a layout tool; re-running the removal will not change either.
6. Verify the downloaded dimensions and background against the destination's current image rules. This tool prepares the background; it does not certify compliance.
Bottom line: background removal is one step, not the whole listing
A white-background product photo is a two-decision job: remove the background, then decide whether the file is final (JPG with a solid color) or reusable (PNG). Keeping both costs one extra click and saves a second removal later. The limitation to accept is scope: one image at a time, automatic edges and no layout controls, so a handful of clean shots is a fast free workflow while a large catalog with strict specs needs batch processing and a retouch step.