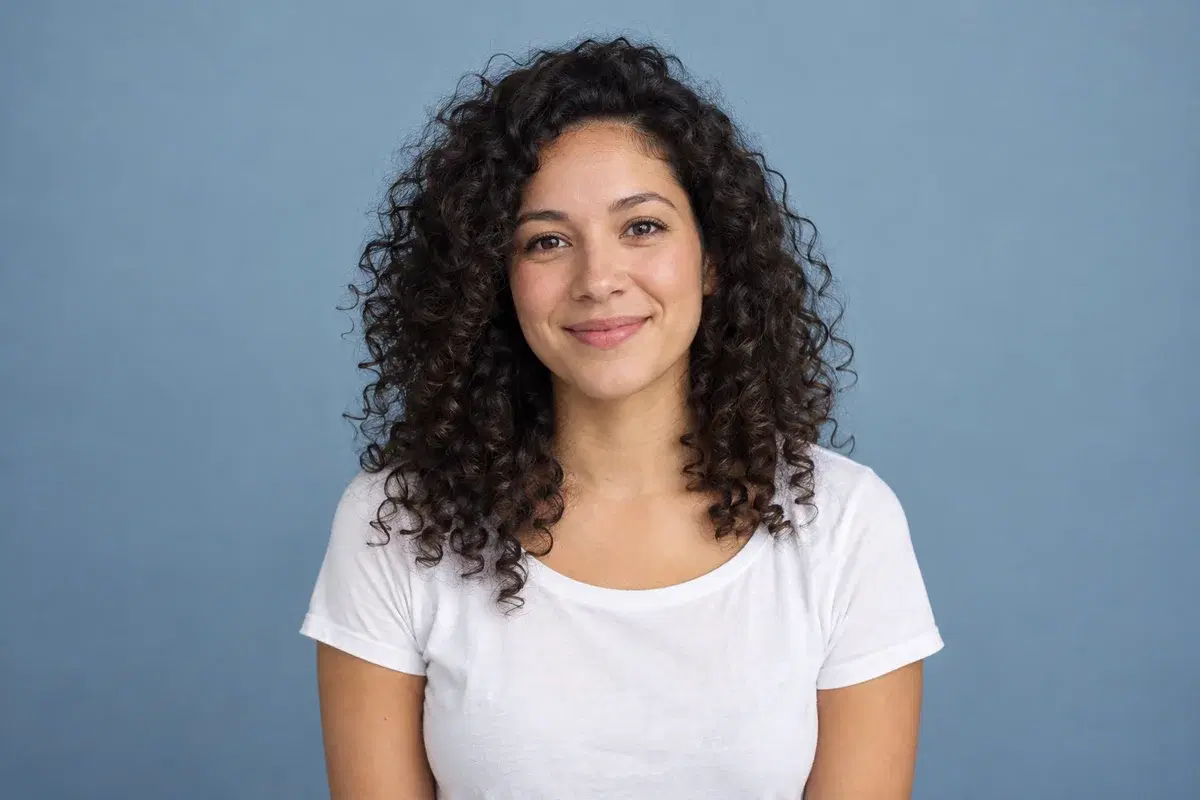
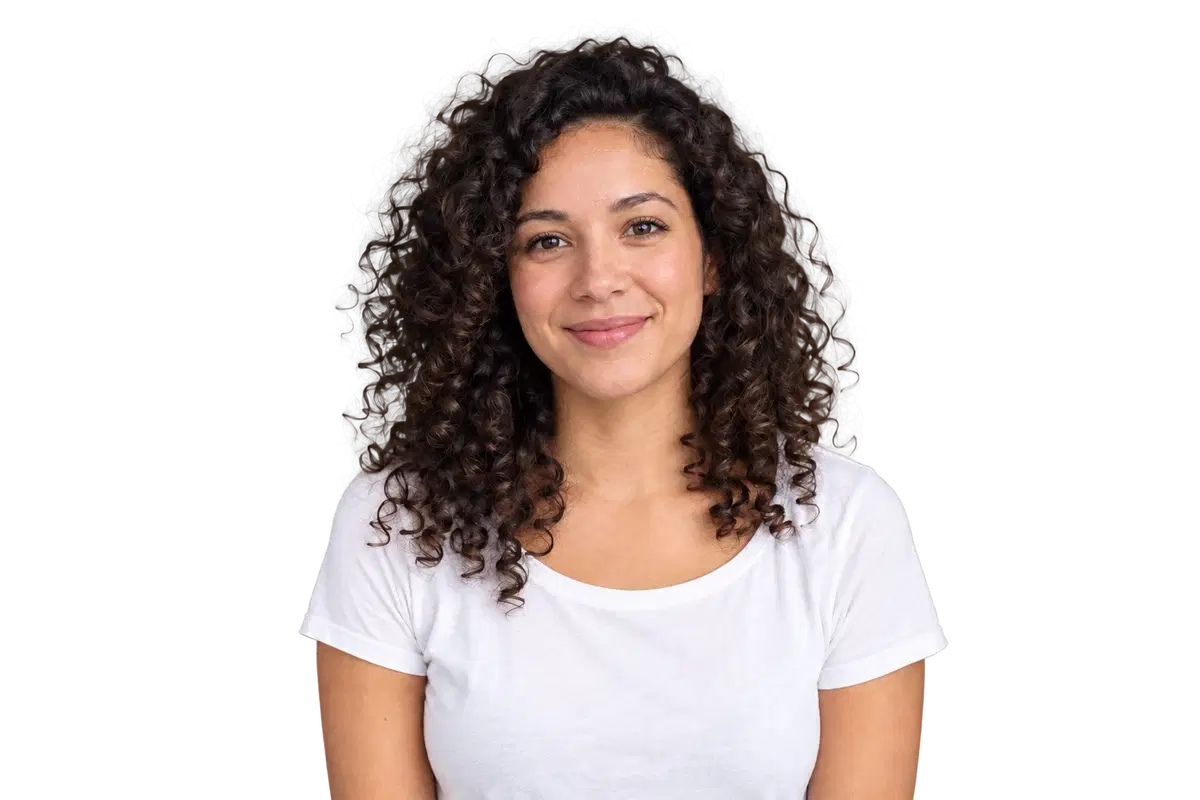
Background removal can only keep an edge that the photo defines, so the most useful fix is the source image, not a setting. Fix focus, light and framing before you upload, and the automatic matte has a boundary it can actually find.
Cutout Free applies automatic matting and gives you a comparison slider plus 1× to 4× zoom to judge the result. It has no brush, no edge feathering and no threshold control, so a strand or a handle the matte misses cannot be painted back here.
The sections below separate what a better photo fixes from what no adjustment on this site can fix. Every limit below comes from the upload path or from the editor's controls.
Which photos give clean hair and edges?
Expect a good edge when the subject is sharp, fully inside the frame, evenly lit and clearly separated from the background in color or brightness. Short hair, hard product outlines and plain backdrops are the easy cases.
Treat loose hair against a wall of a similar tone, strong backlight that blows out the outline, motion blur, transparent glass, veils and reflections as high-risk. The pixel boundary is ambiguous there, and there is no manual mask here to correct an automatic guess.
- Easy: short hair, hard product outlines, a plain backdrop and a clear color or brightness difference.
- High-risk: flyaway hair on a similar-toned wall, blown-out backlight, motion blur, glass, veils and reflections.
- Not recoverable here: detail that was never recorded. The editor does not upscale, so a soft source stays soft in exactly the same places.
What can this editor change, and what can it not?
Removal runs online: the browser uploads a re-encoded copy (PNG, JPEG or WebP up to 20 MB) and receives a PNG with an alpha channel. No second edge-refinement pass runs afterwards; the returned matte is what you download.
Resolution is capped before processing. The browser fits the image inside 4096 px on its long edge and 16 megapixels and re-encodes it to roughly 3 MB, while the server caps at 6 MB, 16 megapixels and 8192 px per side. A high-resolution portrait with fine flyaway hair can lose strand detail before the model sees it, so when those strands are the point, crop tightly around the subject first and spend the available pixels on the edge.
- Available after processing: result/original/compare tabs, 1× to 4× zoom with pan, and transparent, solid-color or uploaded-image backgrounds.
- Not available: mask painting, an eraser, feathering, edge shift, edge-color clean-up, cropping, resizing or batch.
- The returned matte is final. If a strand or an inner gap is wrong, the fix is a different source or an editor with manual masking.
Why is a halo, a missing strand or a leftover patch still there?
Each of these failures has a specific cause, and most of them cannot be fixed from inside this editor. Inspect the cutout before you export, then choose between a different source and a different tool.
- Pale halo on a dark background. There is no edge-color clean-up or feather control, so a fringe the matte leaves is exported as-is. Check the cutout on the dark preset, not only on white.
- Dark edge lost on a dark background. Nothing in the editor shifts or repaints the boundary; if the outline is missing, use a different source or an editor with manual masking.
- Old background trapped inside the subject. There is no brush or eraser, so an interior leftover cannot be removed here. Zoom in and inspect the inside of the shape, not just its border.
- Incomplete hair or thin parts. The matte is final and the upload is resized before processing; if strands are missing in the result, there is no brush here to bring them back.
- A clean preview that fails on a real background. The checkerboard hides light fringes and a dark preview hides dark ones. Judge the edge on the color the final image will use.
How do you get the best edge from the photo you have?
1. Fix the photo before uploading: sharper focus, even light, the whole subject in frame and as much color separation from the background as you can get. A clear brightness difference often does more than any post-processing.
2. Crop deliberately. The editor does not crop, and the 4096 px, 16 megapixel and roughly 3 MB pipeline rewards a tight frame: spend the pixels on the subject and its edge, not on empty wall.
3. Upload, remove, then open Compare. Inspect three places at 1× to 4×: the outer outline, the holes inside the subject and the finest detail such as hair, laces or jewelry.
4. Change the preview background while you inspect: white, the dark preset, then the color the image will actually use.
5. If the result is unusable, change the source rather than repeating the same upload. Re-shoot or re-light if you can; otherwise finish the mask in a desktop editor with manual controls. Running the same difficult file again tends to return the same boundary.
6. Export PNG when the alpha channel must survive, and JPG only after the final background has been applied. A JPG cannot be turned back into a transparent PNG.
Bottom line: fix the photo before you blame the cutout
Use Cutout Free when the subject separates cleanly and you want a fast, free, no-account cutout; the automatic matte is the whole product, with no brush, no feathering and no resolution recovery. For portraits with loose hair, transparent materials or edges a client will inspect at 100%, budget for manual mask work in another tool. The honest trade-off is speed and zero cost against control, and that is the decision to make before you upload.